
Three Modes in EXCAP
Three Modes in EXCAP
This chapter explains the three tracking modes available in EXCAP. You will learn the differences between IMU mode, IMU + Magnetometer mode, and IMU + Vision mode, how to enable each one, and how to use the different calibration poses to get the most accurate tracking.
EXCAP supports three tracking modes. The first two — IMU mode and IMU + Magnetometer mode — are common to almost all IMU-based full-body trackers. IMU provides the core spatial orientation data, while the magnetometer helps correct drift in direction. The third mode is IMU + Vision, which uses a camera as an additional reference to correct the IMU data.
Modes 1/2: IMU / IMU + Magnetometer
Using IMU or IMU + Magnetometer mode is straightforward. When no camera is connected, these modes are enabled by default.
Open Excap Studio, connect all the trackers, and then use the button on the settings page to turn the magnetometer on or off.
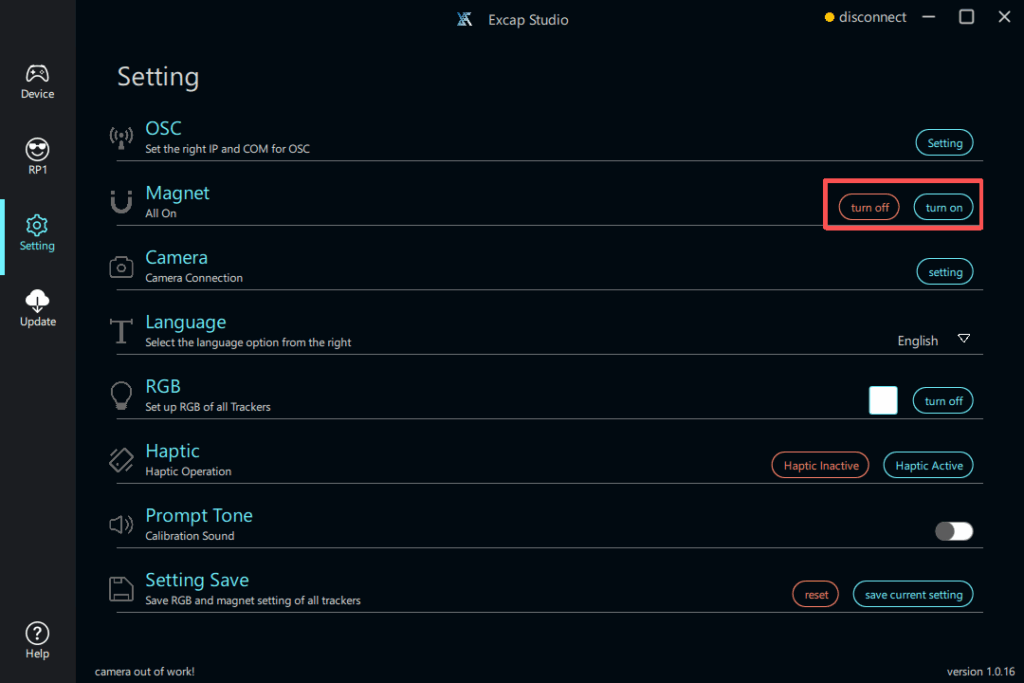
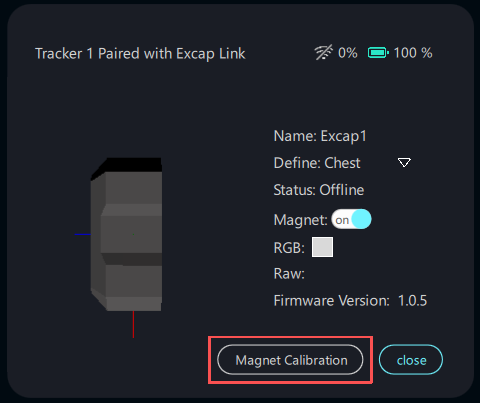
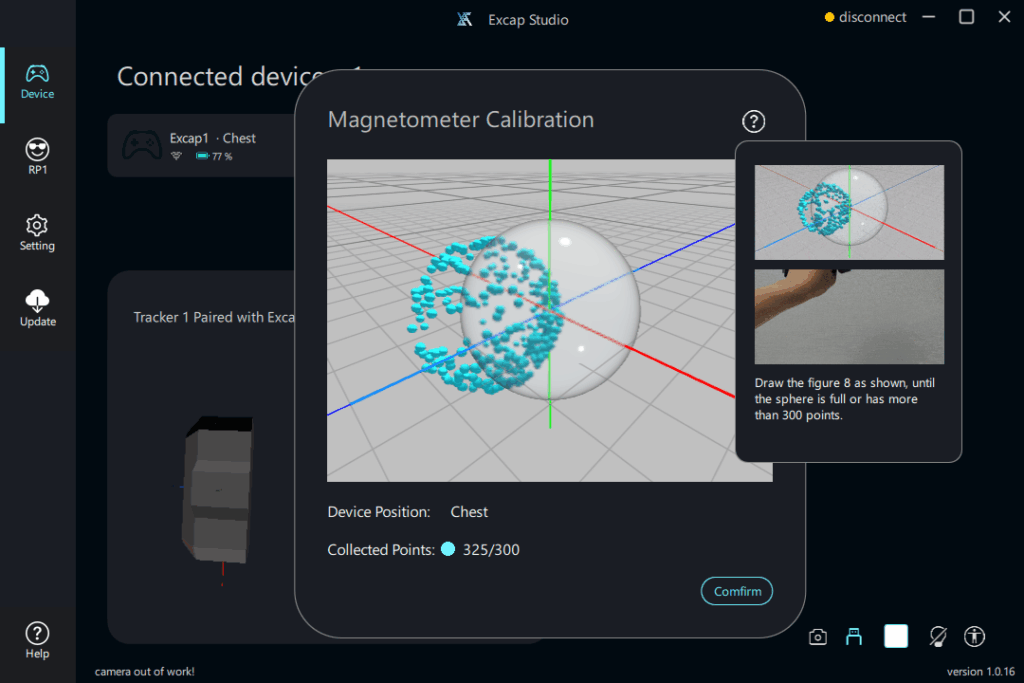
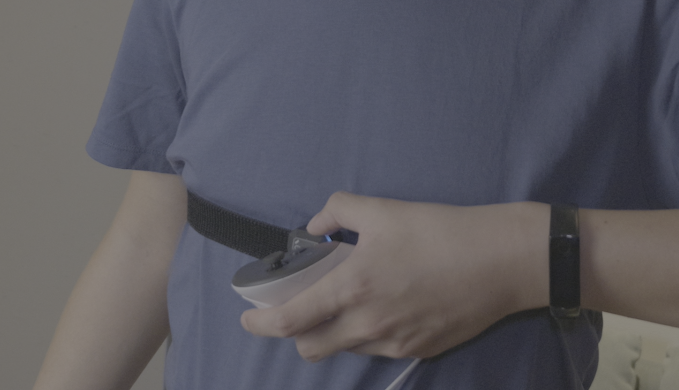
⚠️ Warning: Before using magnetometer mode, you must manually calibrate the magnetometer on each tracker. Otherwise, the magnetometer may make tracking less accurate instead of more accurate.
Step 1: Wear the Trackers
Correct placement is very important for accurate tracking.
💡 Tip: If a tracker keeps sliding, tighten the strap or move it slightly higher on the limb. A stable tracker gives more stable tracking.
Step 2: Calibrate Your Posture
Make sure each tracker is mounted on the front of your body as much as possible before calibrating.
1. Reset with A-Pose
A-Pose: Face forward, stand up straight, and keep your feet about a fist’s width apart.
Using the A-Pose, you can complete the calibration in a single 3-second pose.
You can trigger Reset with A-Pose in two ways:
- Short-press the button on the Chest tracker (less than 1 second, or the tracker may turn off).
- Click the Reset with A-Pose button in Excap Studio.

2. Reset Yaw
This calibration corrects yaw-axis drift caused by IMU drift or a non-uniform magnetic field. It aligns all trackers to face the same direction as your headset.
You can trigger Reset Yaw in two ways:
- Short-press the button on the Waist tracker (less than 1 second, or the tracker may turn off).
- Click the Reset Yaw button in Excap Studio.
3. Reset with S-Pose
If a tracker is not mounted on the front of your body, use the S-Pose calibration to correct its orientation.
The distance between your knees during the S-Pose affects the direction of the kick correction.
You can trigger Reset with S-Pose in two ways:
- Short-press the button on the Right Up Leg tracker (less than 1 second, or the tracker may turn off).
- Click the Reset with S-Pose button in Excap Studio.
4. Reset with C-Pose
C-Pose calibration is only needed in camera (IMU + Vision) mode. It determines the relative orientation between the camera and the trackers on your body, which improves tracking accuracy.
To trigger Reset with C-Pose:
- Click the Reset with C-Pose button in Excap Studio.
Step 3: Adjust Bone Length
If the virtual skeleton feels too long or too short, you can adjust the bone length manually. We recommend adjusting until the virtual foot tracker in SteamVR or VRChat lines up closer to your feet than to your ankles. Your changes are saved automatically.
✅ Good to know: Bone length adjustments are saved automatically, so you only need to do this once unless your wearing position changes significantly.
Mode 3: IMU + Vision
IMU + Vision mode adds a camera to the standard IMU setup. The camera watches the RGB LEDs on your trackers and uses their visual position to correct IMU drift, especially during wide leg movements or fast direction changes. This mode requires a compatible camera mounted on your headset.
Step 1: Connect the Vision Camera
Physical connection: Mount the camera on your headset and connect a Type-C data cable from the camera to the headset. The camera should point 90 degrees downward, toward the floor.
Step 2: Connect the Camera in Software
For detailed connection steps, see the Camera Setting chapter.
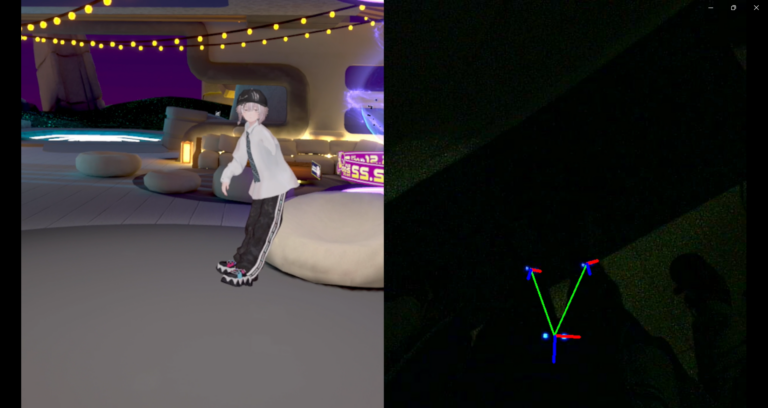
💡 Tip: IMU + Vision mode is especially useful during wide or fast leg movements where pure IMU tracking can drift. Keep the camera lens clean for the best results.
⬅️ Previous: Connect with Standalone · Next: Tracker Setting ➡️